Well. Not really. But, back long enough to write my own recipe post anyway. I won't be home for good until early October but at least now it's a short trip for pleasure rather than business.
Before I jump into today's recipe, how about those fantastic guest posters of mine these past few weeks? Which blogger's recipe was your favorite? Serious big kudos to each of the wonderful bloggers that shared yummy recipes here on my page:
- Angelina at Whisks & Ruffles with her Beef with Black Pepper Sauce (yah for written down Asian recipes!)
- Jenna at Jenna's Cooking Journey with her Oatmeal Caramelitas (mmm caramel...)
- Caroline at The Barbee Housewife with her Bacon Ranch Chicken Taquitos (hello game day!)
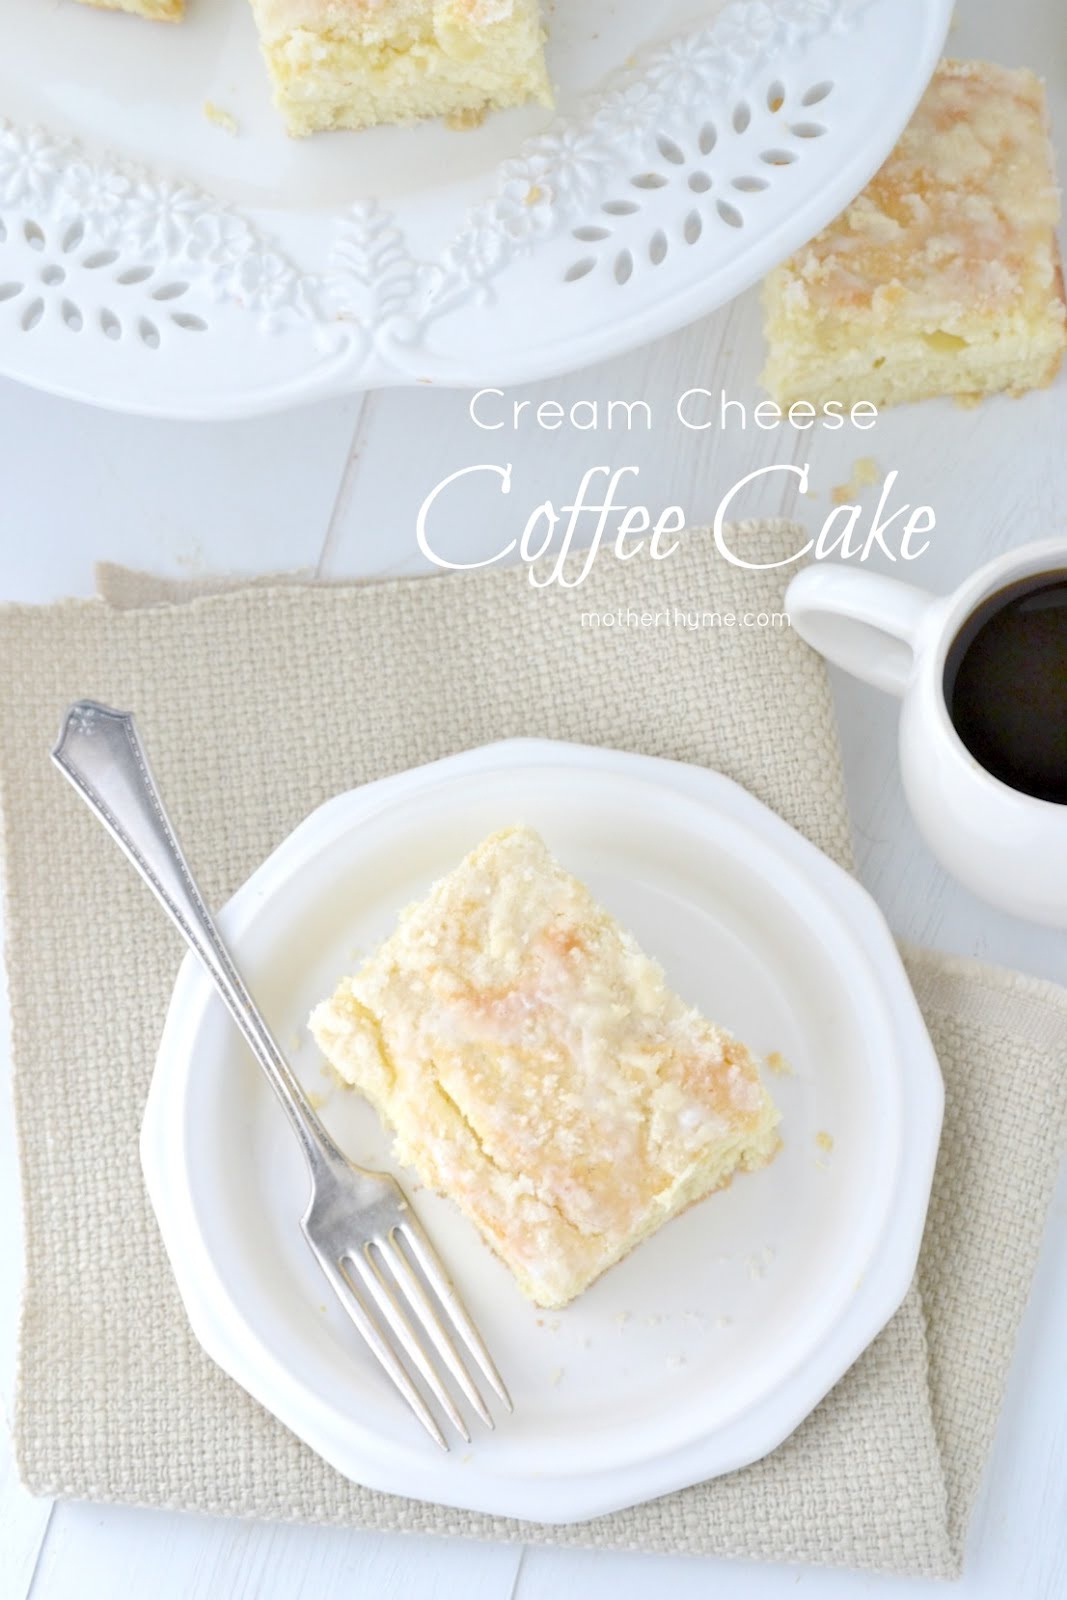
- Jennifer at Mother Thyme with her Cream Cheese Coffee Cake (so scrumptious looking and easy to see why this was the fan favorite!)
- Angie at Coffee and Cannolis with her Mini Frittatas (freezer friendly and fillings are 100% adaptable!)
- Desi at Steak N Potatoes Kinda Gurl with her Grilled Fillet with Bourbon Butter (omg drool!)
The weather really changed dramatically since I came back to The States. Sure, the fact that I came from the tropical weather of the Equator makes it feel even cooler but there are definitive signs of Fall in the air. The mornings are cool and require jacket...and sometimes even heat in the car. The leaves on the trees are starting to display beautiful Fall colors. And, I'm feeling like making warm, comforting foods again.
In my book, nothing says fall more than pumpkin. Hence, I'm sharing this recipe with you today. It was just one of many recipes that I made with my homemade Nutella. The bananas and pumpkin made it super moist and the Nutella gave it a great look and just enough chocolate boost. Lovely to welcome Fall!
One Year Ago: French Onion Soup
Three Years Ago: Hot Spinach Artichoke Dip
 |
| Photo Credit: Emily H. |
Ingredients
- 1 cup sugar
- 1/2 cup butter, softened
- 2 eggs
- 2 tsp vanilla extract
- 4 bananas (preferably overly ripe), mashed
- 1 cup canned or freshly pureed pumpkin
- 2 cups all-purpose flour
- 1/2 tsp baking soda
- 1/2 tsp kosher salt
- 4 Tbsp Nutella, divided
Directions
Source: As seen on The World in my Kitchen and adapted by Mom's Crazy Cooking from Babble - The Family Kitchen- Preheat oven to 350 degrees. Prepare a 9x5 loaf pan by spraying with cooking spray.
- Add sugar and butter to a mixing bowl and cream together until light and fluffy. Add the eggs and vanilla extract, mixing well until combined. Then add the mashed bananas and pumpkin. Again mixing until well combined.
- In a separate bowl, add flour, salt, and baking soda. Whisk together to combine. Gradually add the flour mixture to the wet ingredients and mix until combined. The batter will be thick.
- Pour batter into prepared loaf pan and dollop Nutella on top. Using a toothpick, swirl the Nutella through the batter. Bake for about an hour or until a toothpick inserted into the center of the bread comes out clean.